

Salesforce notifications in Microsoft Teams save time and reduce noise by directing updates to the right people based on their roles. Instead of overwhelming everyone with generic alerts, this setup ensures team members only receive notifications relevant to their responsibilities. For example:
- Account Executives get updates on stalled deals or shifting close dates.
- Customer Success Managers are alerted about case escalations or SLA breaches.
- Sales Managers are informed of pipeline issues exceeding thresholds.
This approach improves response times, reduces manual follow-ups, and keeps teams focused. You can achieve this by integrating Salesforce with Teams, setting up role-based flows, and using tools like nFlow for advanced automation. With proper planning, testing in sandbox environments, and maintaining security controls, you can streamline communication and ensure sensitive data reaches only the right people.

Role-Based Salesforce Notifications Setup Process for Microsoft Teams
High Priority Case Notifications with Salesforce Microsoft Teams Integration
Planning Your Role-Based Notification Setup
Designing an effective notification system means knowing who needs updates, what they need to know, and when they need to know it. Start by mapping your team’s responsibilities and pinpointing the Salesforce events that require their attention.
Matching Roles to Notification Needs
Each role in your organization has unique notification requirements. For example:
- Account Executives need alerts for stalled opportunities or shifting close dates.
- Customer Success Managers rely on notifications for case escalations or SLA breaches.
- Sales Managers must stay informed about pipeline issues that exceed set thresholds.
To avoid overwhelming your team, prioritize urgent notifications and schedule non-critical reminders that cancel automatically if the situation changes. This approach reduces unnecessary alerts and keeps the focus on what matters most.
Here’s a real-world example: Deputy created 15 custom alerts in just 30 minutes, tailoring them for specific regions and managers. Their proactive pipeline hygiene notifications replaced static reports, cutting implementation time by 90% and improving data accuracy without manual effort.
Selecting Salesforce Events to Track
Deciding which Salesforce events to monitor is crucial. Start by identifying the key objects and field changes relevant to each role.
- Sales teams often track opportunity stage changes, updates to close dates, and deals exceeding a certain dollar amount.
- Service teams may need alerts for case status changes, priority escalations, or SLA warnings.
Set clear trigger criteria to prevent unnecessary notifications. For instance, you might notify the Customer Success team about every closed-won deal, while reserving alerts for the Chief Revenue Officer only when a deal surpasses a specific Annual Recurring Revenue threshold.
When monitoring Account records, include essential fields like External_Account_ID__c, Name, Industry, and Phone. Even if these fields remain unchanged, updates to the Type field (e.g., switching to "Customer – Direct") can trigger enriched change events that provide valuable context.
Finally, ensure your notification rules align with your organization’s compliance standards.
Staying Aligned with Governance and Compliance
Your notification setup must respect existing data access controls in Salesforce and Microsoft 365, ensuring sensitive information is shared only with authorized users. If your organization handles sensitive data, such as PII, or operates under regulations like GDPR or SOX, make sure your workflows honor object-level, field-level, and record-level security.
For compliance, maintain detailed audit trails. Log who received each notification, when it was sent, and what Salesforce event triggered it. Tools like Salesforce Shield‘s Event Monitoring and Field Audit Trail can store these logs for extended periods – up to 10 years for GDPR-related changes and 7 years for SOX audits. These records are invaluable for audits and security investigations.
Before deploying your configuration, test it thoroughly in a sandbox environment with masked data. This ensures sensitive information remains secure and prevents disruptions to business processes. Additionally, when integrating Salesforce with Teams, follow a least-privilege approach by granting only the permissions absolutely necessary, such as Team.ReadBasic.All in Microsoft Entra ID.
Setting Up Salesforce–Teams Integration
Once you’ve outlined your notification needs, the next step is to connect Salesforce and Microsoft Teams using admin credentials for both platforms.
Enabling the Native Salesforce–Teams Connection
Start by navigating to Salesforce Setup and searching for "Teams." Select Microsoft Teams Integration Settings. If you’re using Salesforce Lightning Experience (Professional, Enterprise, or Unlimited editions), enable the Teams integration by toggling it on after agreeing to the terms.
If you encounter an error related to the Teams integration SKU, reach out to your Salesforce Account Executive for assistance. For sandbox environments, ensure licenses are refreshed or aligned with production.
Next, assign the User For Teams Integration Permission Set to the appropriate users. Then, configure which Salesforce data types – like Opportunities or Cases – should be accessible during Teams mentions. These steps form the foundation for targeted notifications, which tools like nFlow can enhance by automating role-based alerts and workspace creation.
Finally, install the Salesforce app within Teams to complete the integration process.
Adding the Salesforce App to Teams
In Microsoft Teams, go to the Apps section and search for "Salesforce." Install the official Salesforce app, then log in using your credentials. If you’re connecting to a Salesforce Sandbox, make sure to manually enter https://test.salesforce.com instead of the default login URL.
Your Teams Administrator may need to modify permission policies to grant access to the Salesforce app. Once installed, you can pin Salesforce records as tabs within Teams channels. Simply click the "+" icon at the top of a channel, select Salesforce, and choose the specific record you want to display. The official Salesforce app is free and offers essential features like record search, sharing records in chat, and even editing records directly within Teams.
Using nFlow for Role-Based Notifications
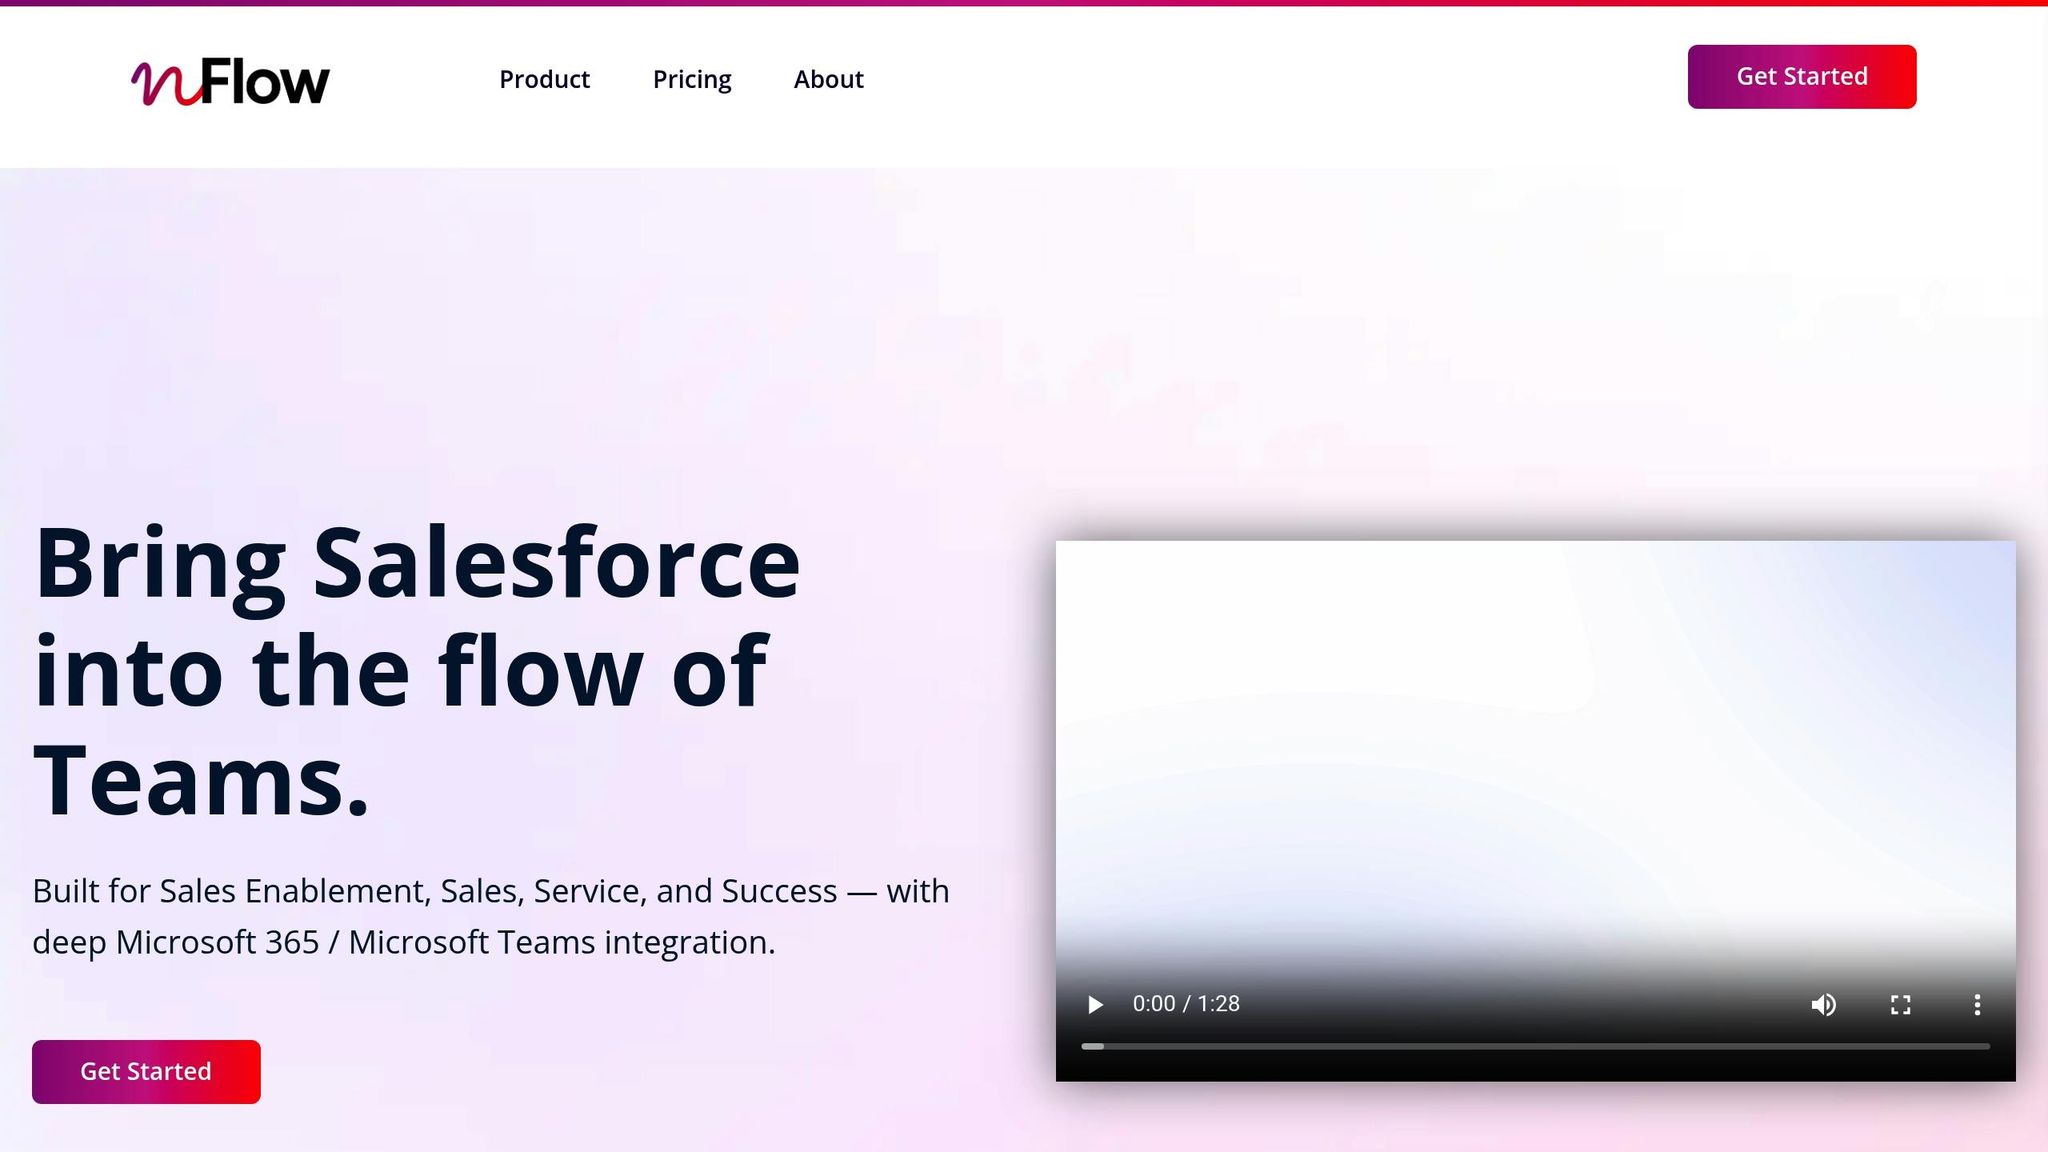
While Salesforce’s built-in integration allows for record visibility, automating role-based notifications requires additional functionality.
This is where nFlow, a Salesforce–Microsoft Teams integration platform, comes in. nFlow transforms your playbooks into Teams workspaces. When specific Salesforce record criteria are met – such as an opportunity reaching a key stage, a case being escalated, or an account surpassing a revenue milestone – nFlow automatically creates Teams workspaces and sends notifications. These alerts can be triggered by changes in record details, like stage updates, close dates, amounts, or new task assignments. It also ensures that Salesforce record owners, opportunity team members, and account team members are automatically added to the relevant Teams workspaces.
nFlow simplifies the process further with pre-built templates for Opportunities, Accounts, and Cases. These templates include sales playbooks, tasks, and document libraries, so you don’t have to build workflows from scratch. Additionally, nFlow manages the lifecycle of Teams workspaces by automatically archiving, renaming, or deleting them once their corresponding Salesforce records are closed. This efficient setup provides ready-to-use collaboration spaces, making it easier to close deals, manage accounts, or resolve support cases – all within Teams.
sbb-itb-95f1422
Building Role-Based Notification Flows in Salesforce
Salesforce’s integration with Teams takes a step further with role-based notification flows, making it easier to route alerts based on user roles, record changes, and business logic. These flows ensure that the right people get the right information at the right time.
Creating Flows for Specific Roles
Record-Triggered Flows are a powerful way to automate notifications when Salesforce objects change. For instance, you could set up a flow to trigger when an Opportunity moves to "Closed Won" or when a Case is escalated. To create one, head to Setup and configure a Record-Triggered Flow for the specific object you want to monitor.
Inside the flow, decision elements (like If/Else blocks) allow you to tailor notifications based on Salesforce data. For example, if a lead’s source is "Partner", the flow can send a notification to a Teams channel dedicated to partner sales. If the source is "Direct", it can notify a separate direct sales channel. To make these notifications more dynamic, use Text Templates and Adaptive Cards to embed relevant Salesforce data.
Once the flow logic is set, it’s time to ensure the notifications are routed to the appropriate individuals or teams.
Routing Notifications to the Right People
Flows can be configured to notify specific Teams users by matching email addresses or to send updates to designated Teams channels. This approach ensures that even non-Salesforce users can stay in the loop. You can also set up notifications for the new record owner, the previous owner, or other recipients based on record details.
For team-wide updates, you can create Teams channels aligned with Salesforce roles or territories. For example, a flow can notify a regional sales group or a service department when relevant records are updated. This keeps teams informed without overwhelming individual inboxes.
If you’re looking for an easier way to implement these flows, consider using nFlow for a no-code solution.
Automating Notifications with nFlow
Although Salesforce Flows offer extensive customization, they can be time-consuming to set up and maintain. nFlow simplifies this process with its no-code tools, enabling administrators to define triggers, templates, and role-based notification rules directly within the platform. For example, when a Salesforce record meets specific criteria – like an Opportunity stage change or a Case escalation – nFlow can automatically send notifications to the appropriate Teams workspace, including the relevant users.
With a visual workflow builder, nFlow eliminates the need for manual setup. It automatically adds Salesforce record owners, opportunity team members, and account team members to the relevant Teams channels. This ensures that everyone who needs to be informed receives timely updates without additional effort.
Testing and Improving Your Notification Setup
Once you’ve set up your role-based flows, it’s time to test them thoroughly in a safe environment. Salesforce sandboxes offer an ideal space for this, providing isolated copies of your production setup. These allow you to validate your flows using replica or sample data without risking your live environment.
Testing in Sandbox Environments
Before diving into testing, make sure to adjust your sandbox email deliverability settings to either "System email only" or "No access." This step ensures live notifications won’t accidentally reach users during testing. Next, choose the right type of sandbox for your needs:
- Developer or Developer Pro: Ideal for early-stage development.
- Partial Copy: Best for User Acceptance Testing (UAT) with sample production data.
- Full Sandbox: Suitable for comprehensive testing with a complete production replica.
Log in to the sandbox as an end user with role-based permissions and trigger the flow by creating or updating test records. For example, you could advance an Opportunity stage or escalate a Case. Monitor the flow execution to confirm that all steps complete as expected, and verify that notifications appear in the intended Microsoft Teams channel with the correct content and formatting.
Once you’ve confirmed the basic functionality, move on to refining your notification rules.
Adjusting Notification Rules
If users start complaining about irrelevant or duplicate notifications, it’s a clear sign that your rules need tweaking. To minimize notification fatigue, set up threshold-based filters – notify users only when there’s a major change, like a significant increase in deal value or a Case breaching a critical SLA. Add conditional logic to differentiate alerts for high-priority cases from routine updates.
Regularly review and clean up outdated rules, and gather user feedback to identify areas for improvement. Including record-specific details in your notifications can also make a big difference, helping recipients quickly understand why they’re being alerted.
With your notification rules in good shape, the next step is to ensure your system remains secure.
Maintaining Security and Access Control
To protect sensitive information, apply strict access controls. Assign users only the permissions they need for their specific roles. Route notifications to authorized individuals or teams based on their roles, locations, or responsibilities. Be cautious with Microsoft Teams channel settings – restrict access to prevent unauthorized users from viewing Salesforce data, and avoid enabling options that allow "anyone" to send emails to a channel.
Double-check Salesforce permission sets and profiles to ensure users only access the data they truly need. Strengthen security further by enabling Multi-Factor Authentication (MFA) for all Salesforce users and limiting login IP ranges to trusted networks like corporate VPNs. If a team member leaves or changes roles, deactivate their account promptly. Regularly use Salesforce Security Health Check to identify and address vulnerabilities.
Finally, when testing in sandboxes, confirm that role-based permissions and sharing rules function as intended before rolling out changes to your production environment.
Conclusion
Start by connecting Salesforce with Microsoft Teams: enable the built-in integration, install the Salesforce app, set up custom notification types, and design flows that trigger alerts for specific events like stage changes, SLA breaches, or deal value thresholds.
Once configured, test thoroughly and implement access controls to maintain security and prevent notification overload. Regularly reviewing your setup ensures it remains effective and secure. Using sandbox environments for testing is a smart way to protect production data during this process.
For more advanced workflows, nFlow transforms your Salesforce playbooks into fully functional Teams workspaces. When an opportunity, account, or case matches your criteria, nFlow automatically creates the appropriate team and channels, pre-populates them with folders, file templates, tasks, and lists, and pins the relevant Salesforce record as a tab. With smart notifications and bi-directional workflows, updates can be made directly in Salesforce from Teams, increasing update rates by up to 20%.
The impact is clear through real-world examples: some teams have created 15 custom alerts in just 30 minutes, reducing implementation time by 90%. Others have experienced 80% fewer manual follow-ups and responded to pipeline changes five times faster. These results highlight how automating role-based notifications transforms alerts into efficient, actionable workflows, enhancing performance for both sales and service teams.
Choose the approach that best fits your team’s needs, whether it’s leveraging native flows or tapping into the robust automation capabilities of nFlow.
FAQs
How can I make sure Salesforce notifications in Teams comply with data privacy and security standards?
To meet data privacy and security standards, it’s crucial to set up role-based access controls so that notifications are accessible only to the right people. Use data classification to handle sensitive information properly, and activate encryption to safeguard data both during transmission and while stored. Incorporate audit trails to monitor activities and maintain accountability, and rely on consent management tools to honor user privacy choices.
Take advantage of Salesforce’s built-in security features by configuring privacy settings and permissions to match your organization’s policies. Make it a habit to regularly review and adjust these settings to keep up with changing regulations and standards.
How can I test role-based notifications in a Salesforce sandbox environment?
To test role-based notifications in your sandbox, start by setting up or refreshing the sandbox to mirror your production environment. This ensures you’re working with an accurate replica of your live setup. Next, configure notification rules in Salesforce, aligning them with user roles or profiles, and assign test users to the relevant roles.
Create sample data that matches the criteria for triggering notifications. Then, perform actions such as updating records or making changes that would activate the notifications. This helps you confirm that the alerts are sent to the correct users based on their assigned roles.
Check the notifications to ensure they’re being delivered as intended. If needed, tweak your settings and repeat the process until everything works smoothly. Don’t forget to use the sandbox’s email deliverability settings to manage email flow during testing – this prevents accidental notifications from being sent outside the test environment.
How does nFlow improve Salesforce notifications in Microsoft Teams?
nFlow bridges the gap between Salesforce and Microsoft Teams, delivering updates that are customized for your sales and service teams. It takes Salesforce events and automatically sets up Teams workspaces, complete with the necessary files, tasks, and checklists from your playbook, so your team is always ready to hit the ground running.
Key Salesforce records are pinned as tabs in Teams, making essential information easy to access. Plus, smart notifications ensure your team stays up-to-date in real time. This seamless system boosts collaboration, maintains consistency, and frees your team to focus on getting things done – no more wasting time on setup or manual updates.
Leave a Reply