


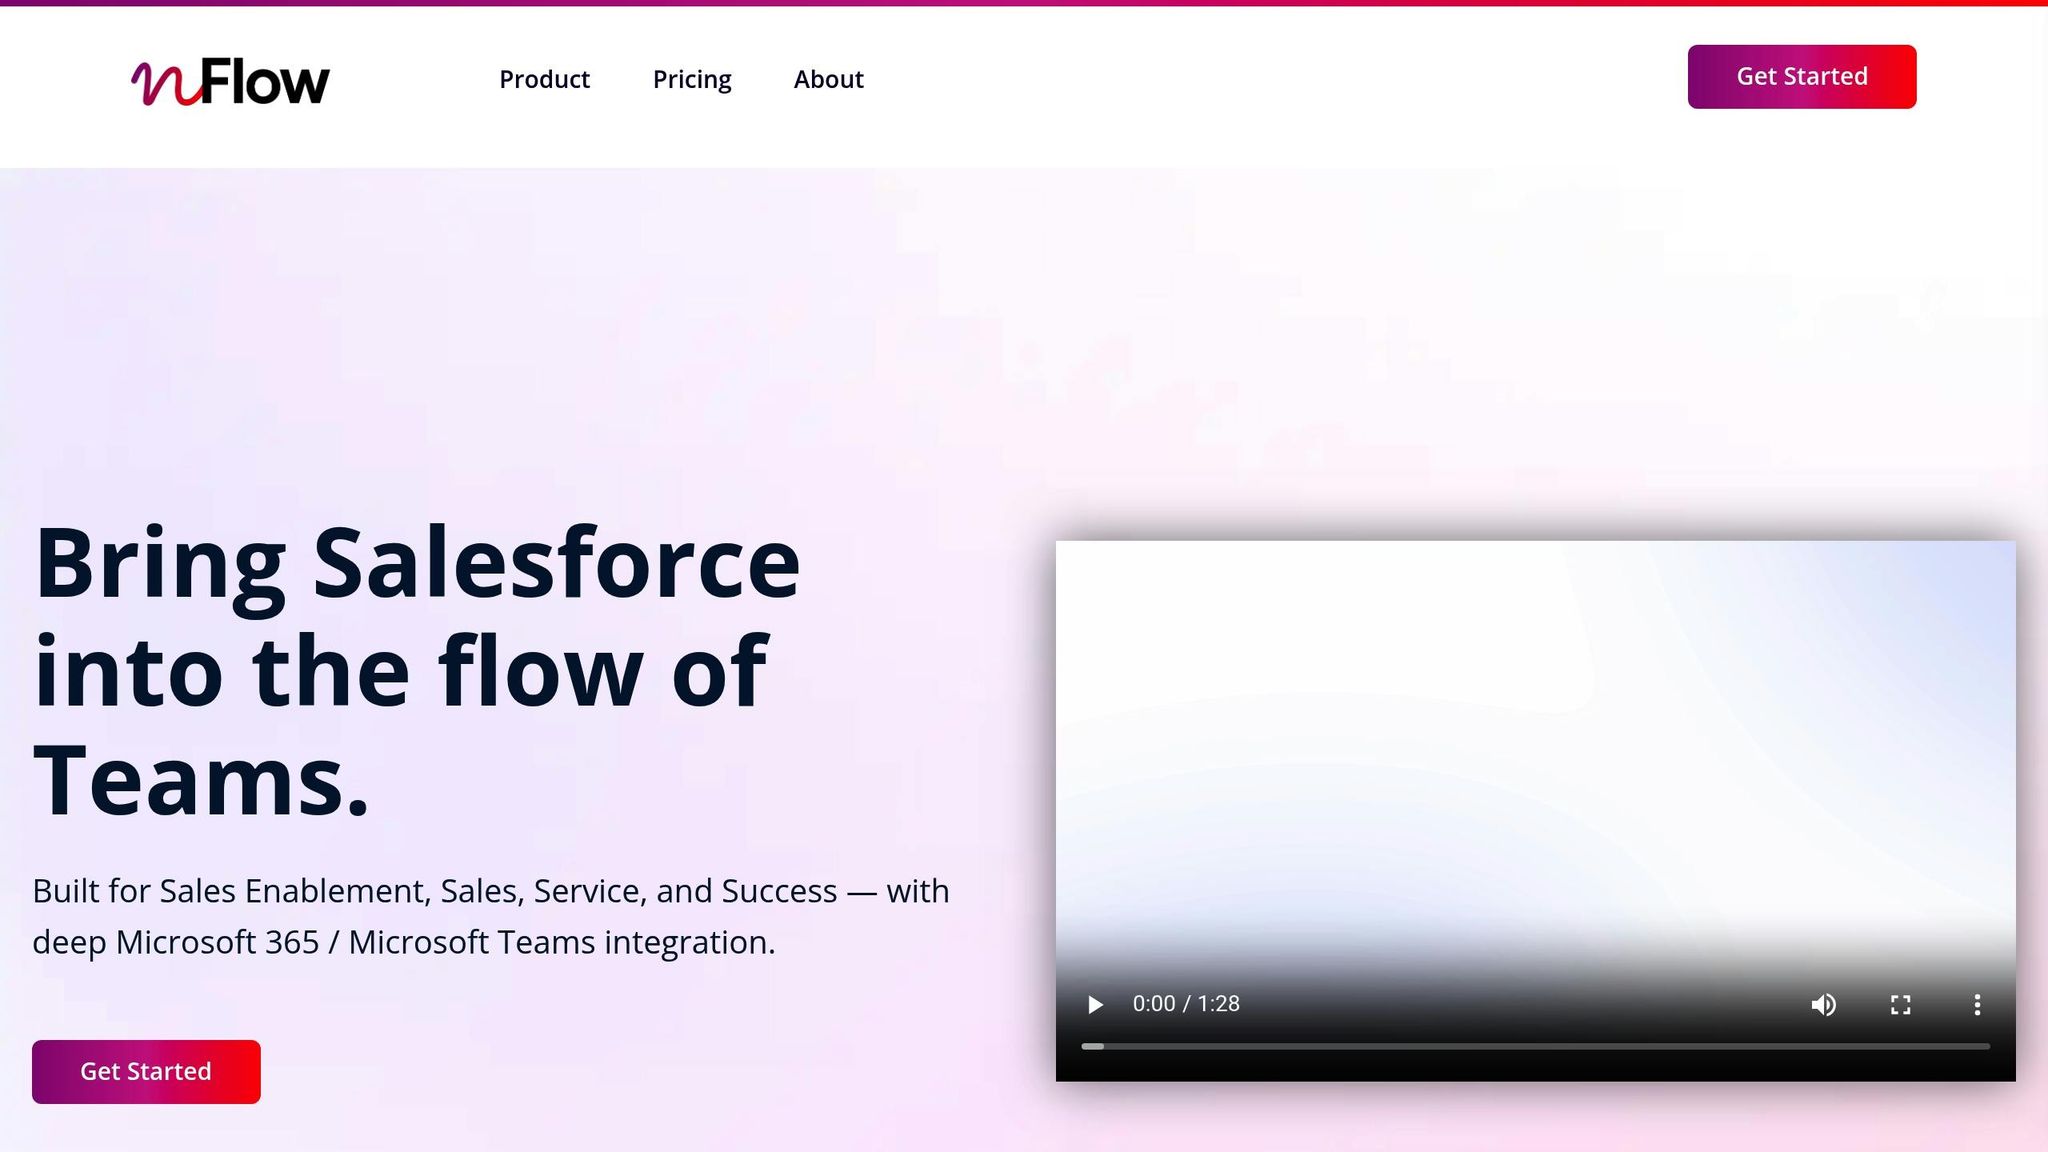
Managing customer cases can get chaotic. Teams often waste time juggling tools like Salesforce, email, and Microsoft Teams, leading to slower resolutions and frustrated customers. The solution? Automating case management with structured workspaces in Teams.
Here’s a quick breakdown of the process:
- Create standardized workspace templates in Teams for consistent case handling.
- Integrate Salesforce with Teams using tools like nFlow to automate workspace creation.
- Preload folders, templates, and tasks specific to each case type.
- Set up notifications for SLA breaches, status changes, or priority shifts.
- Archive resolved cases to keep your Teams environment clean and organized.
This approach eliminates manual errors, speeds up response times, and ensures everyone has the tools they need to resolve cases efficiently. Let’s dive into the details.
Power Automate – Send Salesforce High Priority Case Alerts to Teams!
Step 1: Define Your Case Workspace Template
Create a reusable Teams template in nFlow that reflects your case resolution process. This template should outline channels, folders, file templates, and task lists, forming the foundation for linking Salesforce cases to Teams workspaces in the next step.
You’ll only need to set this up once using nFlow’s no-code builder. After that, every qualifying Salesforce case will automatically generate a workspace based on this template. This ensures that every team member works within the same structure, no matter the complexity or urgency of the case.
Structure Teams Channels for Case Collaboration
Design your Teams channels to align with each stage of your case workflow. Common channel setups include:
- Triage: The starting point for assessing case details, prioritizing urgency, and assigning ownership. Use pinned checklists for diagnostics and impact evaluations.
- Investigation: A space for technical troubleshooting, root cause analysis, and internal discussions. Engineers and specialists can collaborate here, storing logs, screenshots, and technical documents.
- Customer Updates: A centralized hub for all external communication. This ensures account managers, support leads, and executives stay aligned on what’s been shared with the customer, avoiding duplicate outreach.
- Resolution Plan: Focused on implementing fixes like patches, workarounds, or updates. Project managers can use this channel to track timelines and keep everyone on the same page.
- Postmortem: A place to document lessons learned after case resolution. This channel helps capture what worked, what didn’t, and areas for process improvement.
Your channels should reflect your team’s actual workflow. For example, if legal or compliance reviews are part of specific case types, add a Legal & Compliance channel. Similarly, if vendor coordination is common, include a Third-Party Coordination channel. Customize the template to match your team’s needs.
Preload Folders, Templates, and Tasks
nFlow allows you to pre-fill each channel with folders, templates, and task lists so your team can hit the ground running.
For instance, within the Investigation channel, you could include folders like Diagnostic Reports, Customer Environment Details, and Internal Analysis. Add Word templates preformatted with your company’s header, standard sections (e.g., Problem Statement, Timeline), and U.S.-specific formatting such as MM/DD/YYYY dates, dollar signs for costs, and imperial measurements.
In the Customer Updates channel, pre-load email templates and status update documents. For example, an acknowledgment template might say: "We’ve received your case and assigned it to our senior engineering team. Expect our initial technical assessment by [Date] at [Time] ET."
Task lists embedded within channels can help keep everyone accountable. In the Triage channel, a checklist might include items like: Verify customer tier and SLA, Confirm priority with support manager, Assign technical lead within 2 hours, and Schedule initial customer call. Meanwhile, the Resolution Plan channel might include tasks such as: Draft technical solution document, Get product team approval, Schedule deployment, and Prepare rollback plan.
The objective? Eliminate confusion. When a new case workspace is created, team members immediately see a familiar structure and the tools they need to get started.
Apply Microsoft 365 Governance Policies
Once your template is ready, apply governance policies to maintain consistency and control.
nFlow integrates with Microsoft 365 governance to automatically enforce naming conventions (e.g., "CASE-00012345"), Azure AD access controls, retention rules, and compliance labels for each workspace. Every action is logged for auditing, and workspace creation uses service accounts with appropriate permissions to ensure security.
Retention and archival policies are seamlessly applied. For instance, if your organization archives Teams workspaces after 90 days of inactivity or places legal holds on specific case types, these rules will extend to nFlow-created workspaces. nFlow can even trigger archival based on Salesforce case status (e.g., "Closed" or "Resolved") instead of relying on time-based triggers.
For sensitive cases, compliance labels work just as effectively. If your team handles regulated content like health or financial data, Microsoft 365 sensitivity labels will automatically apply to the workspace and its contents. nFlow can even assign stricter access controls and additional compliance documentation for cases classified under regulations like HIPAA.
This seamless integration provides the best of both worlds: the speed and efficiency of automated workspace creation paired with the security and compliance your organization demands.
Step 2: Connect Salesforce Cases to Teams via nFlow
Now that your case workspace template is ready, the next step is to link Salesforce data to Teams using nFlow. This connection ensures that when specific criteria are met – like a high-priority case, a particular customer tier, or a defined case type – nFlow automatically generates the workspace you set up in Step 1.
Map Salesforce Fields to Automation Rules
nFlow keeps an eye on Salesforce fields and triggers workspace creation when your conditions are met. With its no-code visual builder, you can easily set up automation by selecting key fields and defining the values that trigger action.
Some commonly used fields include Priority, Case Origin, Status, SLA Tier, Account Type, and Record Type. For instance, you might configure nFlow to create a Teams workspace whenever the Priority is marked as "High" or "Critical", the Case Origin is "Phone" or "Web", and the SLA Tier is "Premium" or "Enterprise." This ensures that only cases needing cross-team collaboration are escalated, while routine issues stay in the standard support queues.
Custom fields can also be utilized. For example, if your Salesforce setup includes a custom checkbox like "Requires Legal Review" or a picklist field such as "Escalation Type", nFlow can monitor those too, ensuring the right teams are looped in automatically.
But it doesn’t stop there – field mapping can also be used to keep existing workspaces updated. You can configure nFlow to adjust workspaces when case data changes, send notifications for priority shifts, dynamically add team members, or even trigger alerts when SLA limits are approached.
Once your rules are in place, secure the integration with solid authentication protocols.
Set Up Authentication with Salesforce OAuth and Azure AD SSO
nFlow uses Salesforce OAuth and Azure AD SSO to create a secure and seamless connection.
With Salesforce OAuth, nFlow accesses your Salesforce data without storing sensitive credentials like usernames or passwords. During the setup, you’ll authorize nFlow to interact with your Salesforce org using OAuth 2.0. This allows it to read case records, track field changes, and retrieve metadata – all while adhering to your existing Salesforce security settings, such as profiles, permission sets, and sharing rules. This means that if a user lacks access to a case in Salesforce, they won’t see the related Teams workspace either.
Azure AD SSO handles authentication for Microsoft Teams and Microsoft 365. When nFlow creates a workspace, it uses your Azure AD tenant to assign members, enforce access controls, and apply conditional access policies. With single sign-on, users log in once with their corporate credentials and gain access across Salesforce, Teams, and nFlow without needing to sign in multiple times.
All data transfers occur over encrypted channels, and nFlow operates under least-privilege principles, requesting only the permissions required for automating workflows. For industries with strict compliance needs – like healthcare, finance, or government – nFlow aligns with enterprise-grade security standards such as SOC 2 and ISO-style protocols.
Setting this up is straightforward. In the nFlow admin console, click "Authorize Salesforce" and log in with an admin account to connect your Salesforce org. Then, link your Azure AD tenant by granting nFlow the necessary Microsoft Graph API permissions to create Teams workspaces, channels, and tabs. Both steps are quick and don’t require custom development or heavy IT involvement beyond the initial authorization.
Once connected, nFlow manages the integration automatically, refreshing tokens and adapting to credential changes or policy updates without interrupting your workflows.
Pin Salesforce Cases in Teams
With the connection in place, nFlow takes it a step further by embedding Salesforce case details directly into Teams.
When nFlow creates a workspace, it pins the relevant Salesforce case as a tab in the Teams workspace. Using Microsoft’s official Salesforce app for Teams, nFlow integrates the case record into the General channel or any other channel you specify. This allows team members to view essential fields like Case Number, Priority, and Status right within Teams.
This integration eliminates the need to switch between applications constantly. Any updates made to the case in Salesforce – whether by a field agent, a customer through a portal, or an automated workflow – are reflected in real time within the Teams tab. This ensures everyone is working with the latest information.
You can also customize the case view in Teams. For example, frontline agents might see a compact layout with only the most critical fields, while executives could have access to a dashboard-style view showing case history, related accounts, and SLA metrics.
Step 3: Automate Teams Creation from Salesforce Cases
With the groundwork established in Step 1, nFlow takes automation to the next level by streamlining the creation of Teams workspaces. Instead of relying on manual setup – which often leads to errors – nFlow uses its no-code builder to monitor Salesforce cases in real time. When a case meets the rules you set in Step 2, nFlow instantly generates a new Teams workspace based on your pre-defined template from Step 1. This ensures that every workspace includes the exact channels, folders, file templates, and tasks you need, delivering consistent structure across all cases.
This automation not only eliminates setup delays but also ensures proper naming and membership configurations, setting the stage for smoother collaboration.
Set Up Naming Patterns for US Workflows
A well-thought-out naming system can make it much easier for team members to locate the right workspace. With nFlow, you can design naming patterns that pull directly from Salesforce fields, creating descriptive, standardized names that align with your company’s conventions.
For example, a common format might be "Case {CaseNumber} – {AccountName} – {Priority}". If Acme Corporation opens a high-priority case with the number 00012345, nFlow would name the workspace "Case 00012345 – Acme Corporation – High". This format quickly communicates the case details, the customer involved, and its urgency.
You can tweak these patterns to fit your business needs. Some companies might prefer to include the case type or product line, like "Support Case {CaseNumber} – {Product} – {AccountName}". Others might add a date stamp for time-sensitive cases, such as "Case {CaseNumber} – {AccountName} – Opened {CreatedDate}", using the MM/DD/YYYY format common in the US.
For organizations managing regional teams, adding location data can be helpful: "Case {CaseNumber} – {AccountName} – {Region}". This is especially useful for companies with multiple offices or support hubs, as it helps teams quickly identify which cases fall under their area of responsibility.
nFlow’s dynamic field mapping ensures that workspace names stay accurate. For example, if the Priority field changes from "Medium" to "Critical", nFlow can notify the team without renaming the workspace, avoiding disruptions to ongoing work. The goal is to balance clarity and brevity – workspace names longer than 50 characters may get truncated in Teams, making them harder to read.
Once naming conventions are in place, nFlow seamlessly handles team membership for each case.
Configure Membership and Roles Automatically
Adding the right people to each workspace is just as important as creating it. nFlow taps into Salesforce data to automatically assign team members based on roles, account relationships, and case ownership, ensuring the correct participants are included from the start.
For starters, nFlow can add the case owner as a workspace member by pulling their details directly from Salesforce. If your organization uses Account Teams, nFlow can also include those members. For example, if Acme Corporation’s account team consists of an account executive, a customer success manager, and a solutions engineer, all three are automatically added when a case involving Acme is escalated.
Role-based membership is another powerful feature. If a case is tied to a specific product line, nFlow can add members from the relevant product team. For legal issues, it can bring in the legal department. For billing disputes, members of the finance team can be included. These rules are set up once in nFlow’s workflow builder and then applied automatically to every relevant case.
nFlow also respects your Microsoft 365 and Azure AD configurations when assigning roles. You can designate certain users as team owners and others as members. Typically, the case owner is assigned as the team owner, giving them administrative control over the workspace, while other participants are added as members to collaborate without managing settings.
For larger organizations, nFlow can handle multi-layered escalations. For instance, a "Medium" priority case might only include the case owner and account team, while a "Critical" case could automatically involve senior leadership, product specialists, and executive sponsors.
Prevent Manual Errors and Ad-Hoc Channel Creation
Without automation, workspace setups can become inconsistent and chaotic. One team might create a workspace with three channels, another with five, and some might skip channels altogether, relying on a single chat. Files often get saved in random locations, and tasks are tracked in different tools, leaving team members scrambling to find the latest updates.
nFlow eliminates these issues by enforcing your template every time. Each workspace is created with the same channels, folder structures, and file templates, so team members always know where to find what they need, no matter which case they’re handling.
Ad-hoc channel creation is another common problem. Someone might create a new channel for a specific issue but forget to archive it later, leading to cluttered workspaces over time. nFlow addresses this by pre-creating all necessary channels. For example, if your template includes channels for Customer Communication, Internal Discussion, and Escalation, those channels will always be there. This eliminates the need for team members to create new ones, as the structure already covers their needs.
Manual workspace creation also introduces errors. A misspelled customer name, a missing team member, or skipped folder setups can cause delays and confusion. nFlow automates these tasks, removing the risk of human error and ensuring every workspace is set up correctly.
Speed is another major advantage. Manually creating a workspace – adding members, setting up channels, creating folders, and uploading templates – can take 10 to 15 minutes. nFlow completes the entire process in under a minute. For high-priority cases, this time savings can make a huge difference.
sbb-itb-95f1422
Step 4: Preload Templates, Tasks, and Checklists
Once nFlow sets up your workspace, the next step is to load it with all the essential tools and resources. Using automation based on your Salesforce playbook, nFlow preloads each workspace with a structured setup – complete with documents, tasks, and folders. This ensures every case, whether it’s a billing issue, technical problem, or product concern, begins with a clear and consistent framework.
Configure File Templates and Task Lists
Effective case management relies on having the right materials ready to go. With nFlow, your centralized template library becomes the backbone of automation, uploading case-specific documents, checklists, and task assignments directly from your playbook.
Start by identifying the templates your team uses most often. These might include customer communication templates, escalation forms, root cause analyses, or resolution summaries. Based on case type, priority, or product line, nFlow automatically selects and uploads the appropriate templates. This eliminates the need for team members to dig through folders or chase down the latest versions.
Tasks from your playbook are transformed into actionable lists in tools like Microsoft Planner or To Do. These task lists are then auto-assigned based on Salesforce data. For example, a new case might generate tasks such as promptly acknowledging the customer, assigning a technical expert, scheduling a follow-up, and preparing an initial assessment. By tying tasks directly to Salesforce data, every case gets immediate, organized attention.
To streamline access, nFlow also structures the Files tab with standardized folders, like those for communications, analysis, documentation, and resolution. This setup ensures quick and easy navigation.
Finally, it’s important to keep your playbook templates aligned with evolving team roles and responsibilities.
Update Playbook Templates by Role
As your processes change, your playbook templates need to keep up. With nFlow’s centralized template management, any updates made by operations, customer success, or IT teams are automatically applied to all new workspaces. This eliminates the hassle of manual updates and reduces the need for repetitive training sessions.
Centralized updates not only save time but also ensure that everyone follows the same procedures. Whether it’s a checklist or a document template, one quick update becomes the standard for all future cases, keeping your team aligned and efficient.
Use US Standards for Metrics and Measurements
When templates, task lists, and checklists are shared across an organization – especially one based in the US or serving US customers – consistent formatting is key. nFlow allows you to configure templates to follow US formatting standards automatically:
- Dates use the MM/DD/YYYY format (e.g., 03/15/2025), avoiding confusion with international formats.
- Currency values include a dollar sign and commas as thousand separators (e.g., $1,500.00), ensuring clarity in financial documents.
- Numbers use periods for decimals and commas for thousands (e.g., 1,234.56).
- Measurements default to imperial units (e.g., inches, pounds, miles), and temperatures are displayed in Fahrenheit (°F), which is helpful for technical documentation.
- Time formats follow the 12-hour clock with AM/PM notation (e.g., 2:30 PM), aligning with common US business practices.
These formatting standards are built into your templates right from the start. Whether it’s a "Customer Communication Template" or a task deadline like "Complete initial assessment by 03/15/2025 at 3:00 PM", everyone interprets the information the same way. For teams that operate in both US and international regions, nFlow can also provide region-specific templates, ensuring that cases are formatted appropriately based on the customer’s location or the case owner’s region.
Step 5: Set Up Notifications and Lifecycle Management
With your automated workspace and preloaded tools in place, the final step ensures your environment stays dynamic by setting up smart notifications and lifecycle controls. This step leverages nFlow to transform your case workspaces into self-managing systems that adjust as cases progress.
Configure Notifications for Case Events
nFlow keeps an eye on Salesforce cases and sends targeted alerts to Teams channels when critical events occur. For example, it can notify you of SLA breaches when deadlines are missed, priority escalations when a case becomes more urgent, status changes like moving from "In Progress" to "Awaiting Customer Response", or financial events exceeding your organization’s thresholds. For instance, if a case’s priority changes to "Critical" and an SLA is breached, nFlow could post: "SLA Breach Alert: Case #00234567 – Assigned to: @Sarah Chen."
Notifications can also be customized based on roles. A technical support engineer might receive updates about new comments or attachments, while a customer success manager might only get alerts when customer satisfaction metrics drop below target or when a case remains unresolved past its deadline. With nFlow’s rule builder, you can combine multiple conditions to create alerts that are both precise and actionable.
Automate Workspace Archival or Completion
As cases are resolved, automating workspace archival helps reduce clutter while preserving important records. When a case status changes to "Closed" or "Resolved", nFlow can trigger an archival workflow. This process saves the workspace history, including conversations, files, tasks, and decisions, while removing it from the active view.
Archived workspaces follow your retention policies. For example, standard support cases might be archived immediately after closure, whereas high-value cases could be retained longer for follow-up purposes. Similarly, a case marked as "Resolved" might be archived normally, but one labeled "Escalated to Product Team" could stay active and link to a product development workspace for continuity.
This automated lifecycle management ensures inactive workspaces are archived while keeping their histories searchable. It’s a practical way to reduce clutter while maintaining access to essential information.
Test Automation in Sandbox Environments
Before deploying your notification and lifecycle automation rules, thorough testing in a sandbox environment is crucial. nFlow’s sandbox-to-production mapping feature lets you design and validate automation rules using a Salesforce sandbox, ensuring everything works smoothly before going live.
Connect nFlow to your Salesforce sandbox – whether it’s a Developer, Developer Pro, or Full sandbox – and set up your triggers and archival rules as planned. Test key events like priority changes and status updates to confirm notifications appear in the correct Teams channels. Ensure details like dates (MM/DD/YYYY), currency values (with dollar signs and commas), and timestamps (12-hour format with AM/PM) are properly formatted.
Sandbox testing helps identify potential issues before they affect live operations. For example, you might find a notification rule triggers too often, an archival workflow conflicts with retention policies, or certain Salesforce fields don’t map correctly to your automation logic. Fixing these problems in a controlled environment prevents disruptions in real case management.
It’s also a chance to train your team. Support reps can practice responding to notifications, managers can review escalation alerts, and operations teams can confirm archived workspaces remain accessible. Once testing confirms everything works as intended, nFlow makes it simple to replicate the rules in your production Salesforce environment using its visual, no-code workflow builder.
Continue periodic sandbox testing to adapt to changing processes and ensure everything stays aligned.
Conclusion: Key Takeaways for Case Management
Improving customer case management hinges on removing the disconnect between your Salesforce records and the day-to-day work happening in Microsoft Teams. The five steps detailed in this guide – defining workspace templates, integrating Salesforce with Teams using nFlow, automating workspace setup, preloading templates and tasks, and implementing notifications with lifecycle management – turn disorganized, manual workflows into a seamless, automated system. This integration is a game-changer for efficiency.
When you automate the creation of case workspaces directly from Salesforce, you eliminate uncertainty. Every escalated case is instantly assigned a standardized workspace, complete with organized folders, task lists, and pre-assigned team members. Instead of wasting time hunting for templates or piecing together information, support engineers can dive straight into resolving issues. They’ll find everything they need – customer history, task lists, and relevant details – ready to go in a pre-configured workspace.
Reducing app-switching brings immediate productivity gains. By pinning Salesforce case details directly in Teams channels, your team avoids jumping between platforms. Key information – like case priority, SLA deadlines, and account value – is right at their fingertips, alongside their conversations, files, and tasks. This setup keeps everyone focused on solving customer issues rather than navigating multiple tools.
Consistency in processes also gets a major boost. With nFlow, every workspace aligns with your organization’s best practices. Pre-loaded file templates, comprehensive task lists, and governance policies are automatically applied, ensuring every case follows the same structure.
For service teams in the US managing high case volumes across multiple time zones, this consistency becomes even more critical. For example, a case opened on the East Coast at 9:00 AM can seamlessly transition to a West Coast team member at 3:00 PM, with all the context preserved within the workspace. There’s no risk of losing important details in email chains or chat threads. The workspace itself becomes the central hub for collaboration, ensuring smooth handoffs and continuity.
nFlow’s no-code builder makes it easy for operations teams to adapt workflows and templates as needs evolve. Whether you’re adding a new escalation process or rolling out a customer satisfaction survey, you can make updates through nFlow’s visual interface. Test changes in your Salesforce sandbox to ensure they work as intended, then roll them out to production with minimal effort.
Targeted notifications further enhance the system by keeping teams informed and on track. Support teams receive alerts for new case comments, managers are notified of SLA breaches, and customer success teams get updates when satisfaction scores drop. These notifications are clear, role-specific, and delivered directly in Teams, where your team is already working.
Finally, automated archival ensures your Teams environment stays organized without losing access to critical case history. Resolved cases are moved out of active views but remain searchable for future reference, whether you’re reviewing past resolutions or analyzing trends. This balance between decluttering and preserving knowledge keeps your system efficient while maintaining access to valuable insights. By streamlining archival processes, nFlow reinforces a clean, structured approach to case management from start to finish.
FAQs
How does using nFlow to integrate Salesforce with Microsoft Teams make customer case management more efficient?
Using nFlow to connect Salesforce with Microsoft Teams makes managing customer cases much easier by bringing collaboration and automation into one place. Teams can access and interact with Salesforce data right inside Microsoft Teams, cutting out the hassle of switching between platforms and keeping everyone on the same page.
nFlow also lets Salesforce updates automatically set up standardized Teams workspaces. These workspaces are pre-organized with essential folders, file templates, and task lists, ensuring teams follow a consistent process for handling escalations and resolutions. This setup not only speeds up response times but also boosts team coordination, leading to a better overall customer service experience.
What are the main advantages of using structured Teams workspace templates for managing customer cases?
Using structured workspace templates in Microsoft Teams makes managing customer cases much easier. These templates save time, provide consistency, and boost teamwork by automatically setting up Teams workspaces. Each workspace comes pre-loaded with folders, file templates, and tasks specifically designed for the case at hand – no manual setup required.
This method helps reduce mistakes, simplifies workflows, and keeps teams focused on resolving customer issues quickly. Plus, by centralizing everything in Teams, you cut down on switching between apps, ensuring smoother processes and a better experience for both your team and your customers.
How does nFlow automation help reduce errors and maintain consistency in case management?
nFlow takes the hassle out of repetitive manual tasks by automating the creation of standardized Teams workspaces whenever there’s an update to a Salesforce case. These workspaces are thoughtfully set up with the right folders, templates, and tasks, so every case is handled in a consistent and organized way.
By cutting down on manual input, nFlow helps reduce the chances of human error and allows your team to concentrate on resolving cases more effectively. This efficient workflow not only boosts accuracy but also fosters better collaboration by turning Teams into a central hub for managing cases.
Leave a Reply