


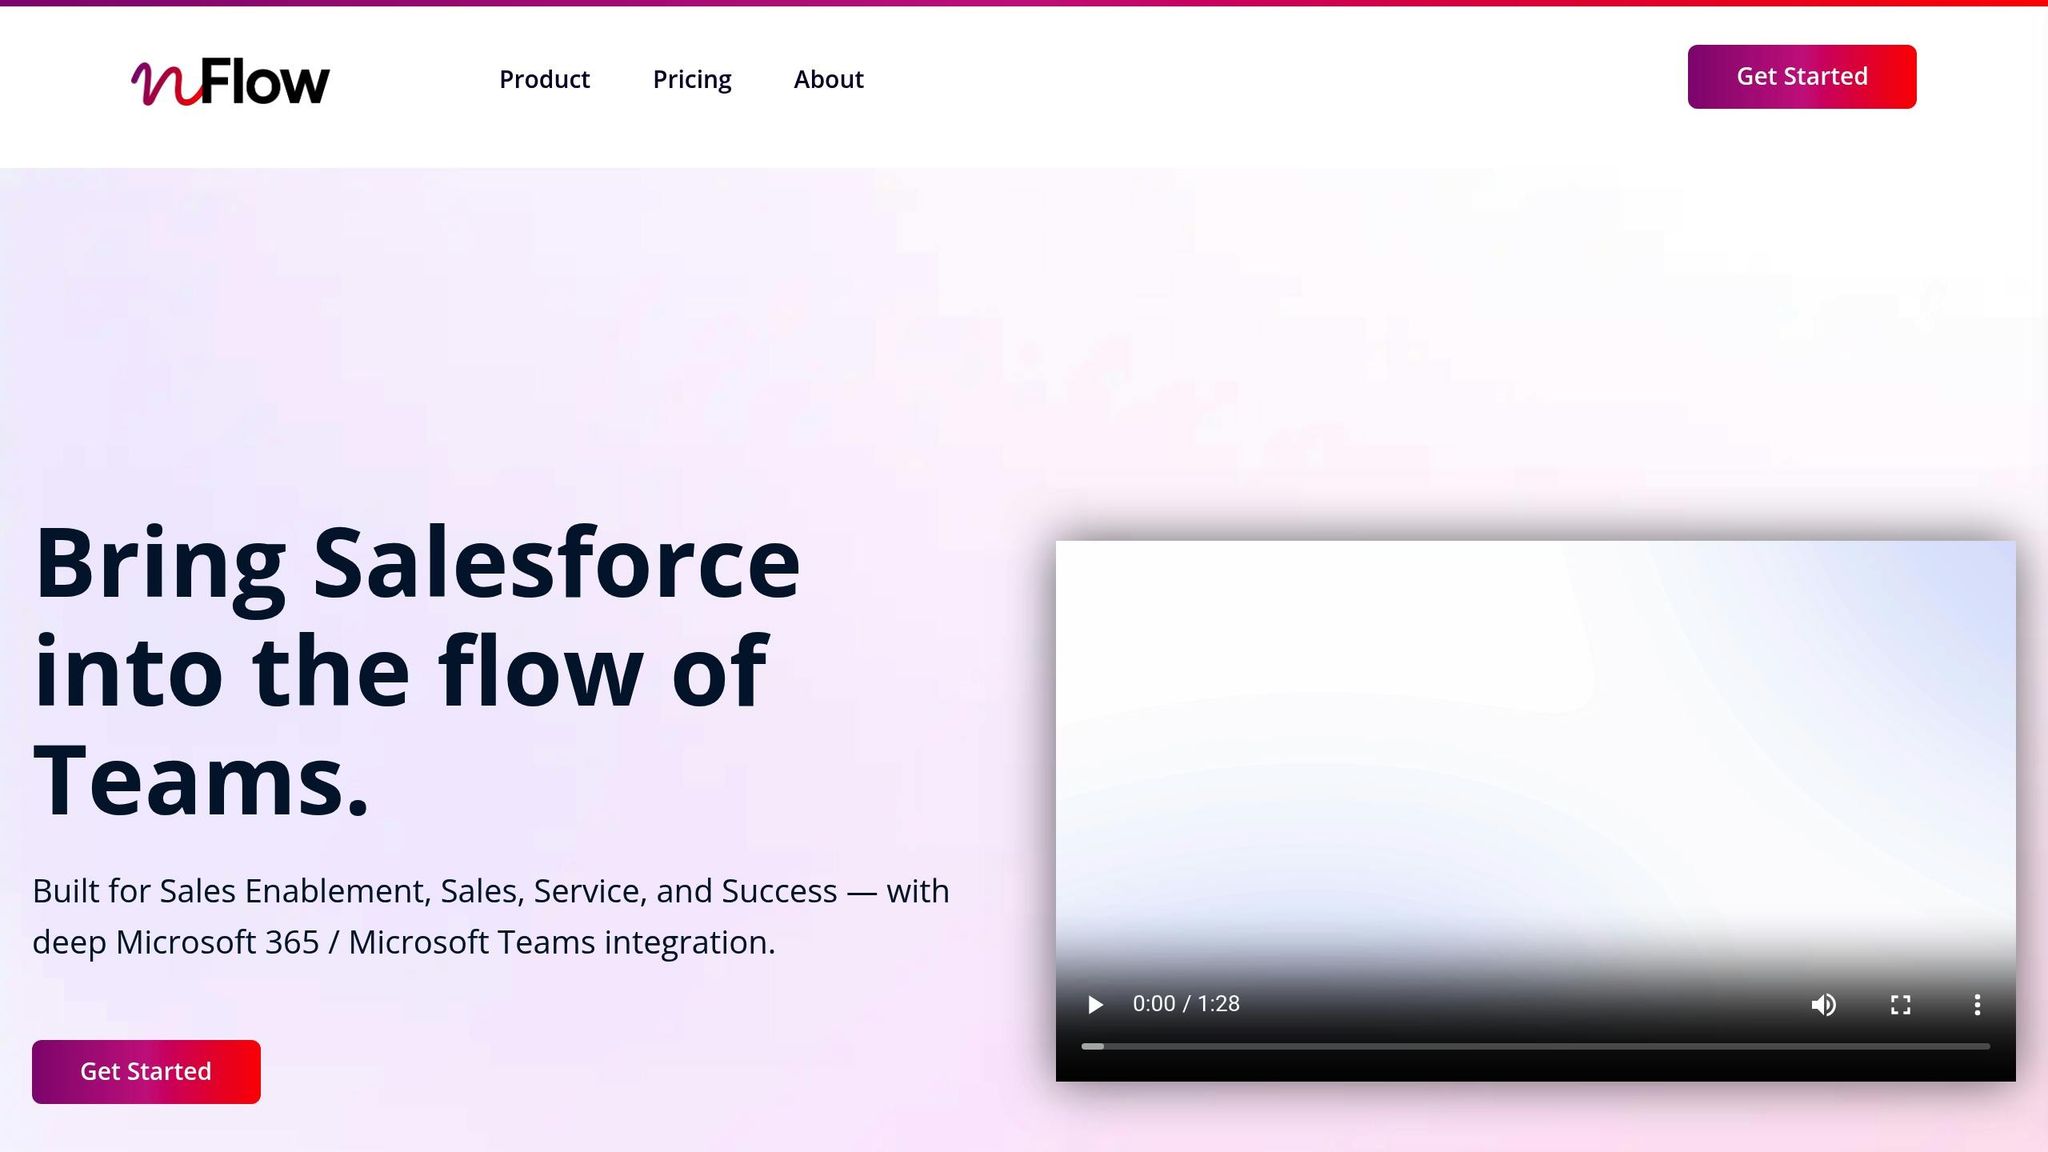
Automating Microsoft Teams workspace creation directly from Salesforce can save your team time and ensure consistency. Instead of manually setting up workspaces for deals, accounts, or cases, tools like nFlow can create fully configured workspaces based on Salesforce data and triggers. Here’s what you need to know:
- Key Benefits:
- Automates workspace setup when Salesforce records meet specific conditions (e.g., opportunity stage changes, high-value deals, critical cases).
- Ensures standardized templates for channels, folders, and tasks, reducing errors and confusion.
- Saves time by eliminating manual processes and enabling teams to focus on their work.
- What’s Needed:
- Salesforce (Professional Edition or higher) and Microsoft 365 with Teams.
- nFlow integration for connecting Salesforce and Teams.
- Predefined playbooks and templates for different scenarios (e.g., sales deals, customer onboarding, support cases).
- How It Works:
- Define triggers in Salesforce (e.g., opportunity stage = "Proposal").
- Use Salesforce data to shape Teams templates (e.g., channels, file structures, task lists).
- Automatically add team members and notify them of workspace creation.
- Sync Salesforce updates with Teams notifications for ongoing collaboration.
- Setup Steps:
- Connect Salesforce and Teams via nFlow using secure OAuth authentication.
- Create Teams templates tailored to your workflows.
- Configure no-code automation rules to trigger workspace creation.
- Test automation in a sandbox environment before going live.
This approach simplifies collaboration, aligns workspaces with your processes, and keeps everything organized. With automation, your team can focus on delivering results instead of managing logistics.
Planning Your Workspace Automation Strategy
When planning your workspace automation strategy, start by pinpointing the Salesforce events that slow your team down. Look for areas like enterprise deals, high-priority support cases, or onboarding projects that create bottlenecks. Instead of trying to automate everything at once, focus on workflows causing the most friction right now. The goal is to make automation fit seamlessly into your team’s actual processes – not an idealized version of them.
Think about which Salesforce changes should trigger workspace creation, how the data will shape each workspace, and what content will be included. To get this right, involve the people who deal with these workflows every day – sales reps, customer success managers, and service agents – not just IT staff.
Choosing Salesforce Objects and Triggers
Start by identifying the Salesforce objects that drive your team’s most important collaborative work. For sales teams, Opportunities are an obvious choice. But don’t forget about Accounts for customer success workspaces or Cases for handling escalations. Many organizations also rely on custom objects for workflows like renewals, implementations, or onboarding.
Next, decide exactly when automation should kick in. For opportunities, triggers might include stage changes (like moving to "Proposal" or "Closed Won"), deal size thresholds (e.g., over $50,000), or updates to specific fields. For cases, you could trigger workspace creation when a priority is set to "Critical" or when a case type changes to "Enterprise Support."
Timing is everything. Set triggers when collaboration becomes essential. For example, most organizations find that workspace creation makes sense when a deal reaches a stage like "Proposal" or "Qualification", where cross-functional collaboration ramps up.
Tools like nFlow allow you to create precise triggers by combining multiple conditions. For instance, you could configure a workspace to generate only when an opportunity enters the "Proposal" stage, has a value over $100,000, and is flagged with a custom field like "Requires Legal Review." This level of detail prevents unnecessary workspaces while ensuring critical deals get the attention they need.
Consider tailoring automation rules for different scenarios. Enterprise deals might require fully built-out Teams workspaces with multiple channels, while smaller opportunities might only need a single channel added to an existing team. Similarly, P1 support cases might trigger immediate workspace creation, while lower-priority cases could have a delay. Plan these variations ahead of time to ensure your automation aligns with your team’s needs.
Connecting Salesforce Data to Teams Templates
Once you’ve identified the Salesforce events that trigger workspace creation, the next step is figuring out how Salesforce data will shape each workspace. This is where automation becomes smarter, not just faster.
Map Salesforce fields to Teams template configurations. For example, use the Region field to select time zone-specific templates or the Industry field to load relevant reference materials. Consistent naming conventions can make workspaces easier to find. For instance, a naming pattern like [Opportunity Name] - [Stage] - [Close Date] could result in "Acme Corp Enterprise Deal – Proposal – Q1 2026."
Custom fields in Salesforce can add even more power to your automation. For example, a checkbox like "Requires Security Review" could automatically create a dedicated channel for security discussions, pre-loaded with a security questionnaire template. Similarly, a picklist for "Deal Complexity" might determine whether a workspace gets a basic setup or an advanced one with channels for technical architecture, legal negotiations, and executive discussions.
Use related Salesforce objects to enrich the workspace context. An opportunity workspace might pull data from the associated Account (like company size or industry) and Contact records (to determine team members). A case workspace could reference the related Product to include technical documentation. Tools like nFlow can connect these relationships to create more contextual and useful workspaces.
Building Teams Templates Based on Your Playbooks
Your Teams templates should act as digital playbooks, reflecting the workflows your team relies on. Set up channels, folders, file templates, and task lists to guide actions like kickoff calls or welcome emails.
Start by outlining what an ideal workspace looks like for each scenario. For a sales opportunity, you might include channels such as "Internal Team", "Customer Collaboration", "Proposal & Pricing", and "Legal & Security." Each channel could have predefined folders like "Meeting Notes", "Proposals", "Technical Documentation", and "Contracts." Add file templates, such as a standard proposal deck, mutual action plan, or security questionnaire, to keep everyone aligned.
Task lists turn templates into actionable tools. For example, a "Closed Won" opportunity workspace might automatically generate tasks like "Schedule kickoff call (due in 3 days)", "Send welcome email (due in 1 day)", or "Complete customer onboarding form (due in 5 days)." These tasks ensure nothing is overlooked during critical transitions.
Different Salesforce scenarios will require different templates. Your library might include templates like:
- A "Standard Deal Room" for typical opportunities
- An "Enterprise Deal Room" with extra governance channels for large deals
- A "Customer Onboarding" template for new accounts
- A "Support Escalation" template for urgent cases
- A "Renewal" template for customer success teams
Each template should reflect the collaboration patterns and content needs of its specific workflow.
Templates should also balance the needs of internal teams and external collaborators. For example, a deal room might include internal channels for strategy discussions and customer-facing channels for working with the prospect’s team. Similarly, a support case workspace might have internal collaboration channels for engineers alongside customer-facing ones for direct communication.
Keep templates up to date as workflows evolve. With role-based administration in nFlow, you can adjust templates without needing IT support, ensuring your automation stays aligned with current practices.
The goal is to create workspaces that feel intuitive from the moment they’re generated. Team members should immediately know where to find information, what tasks need attention, and how to collaborate – because every workspace follows a familiar, proven structure built around your Salesforce processes.
Configuring Salesforce–Teams Integration with nFlow
Once you’ve outlined your workspace automation strategy, the next step is setting up the connection between Salesforce and Microsoft Teams. This involves secure authentication, creating Teams templates, and defining no-code automation rules.
The good news? You don’t need coding or custom development for this. With nFlow’s visual builder and OAuth-based authentication, you can securely link your systems while allowing business teams to manage templates and automation rules.
Let’s break down how to connect Salesforce and Teams using nFlow.
Connecting Salesforce and Teams Through nFlow
The first step is establishing secure connections between your Salesforce organization and Microsoft 365 tenant. This requires two authentication flows: Salesforce OAuth for accessing Salesforce data, and Azure AD Single Sign-On (SSO) for handling Microsoft Teams and Microsoft 365 resources.
- Salesforce OAuth: This connection allows nFlow to access Salesforce records like Opportunities, Accounts, and Cases, and monitor the triggers you’ve set. During setup, you’ll specify which Salesforce objects and fields nFlow can access. Stick to the essentials – most organizations limit access to standard objects (e.g., Opportunities, Accounts, Cases, Contacts) and relevant custom objects to maintain control over workspace creation.
- Azure AD SSO: This handles the Microsoft 365 side, enabling nFlow to create Teams workspaces, channels, folders, and tabs. Your Azure AD administrator will need to approve permissions for tasks like creating teams, managing channels, and accessing SharePoint (since Teams files are stored there).
Both methods use OAuth 2.0 for secure, revocable token exchanges.
When setting up, decide which Salesforce account will serve as the "service account" for automation. Many organizations create a dedicated integration user with tailored permissions for this purpose. This approach avoids disruptions if an employee leaves or changes roles, keeping your automation running smoothly.
Setting Up Teams Templates in nFlow
Once authentication is in place, the next step is building Teams templates. These templates act as blueprints for your automated workspaces, defining team names, channel layouts, folder structures, file templates, and task lists.
Each template should align with a specific Salesforce scenario, like a deal room for enterprise sales, a customer onboarding workspace, or a support escalation team. Start with your highest-priority use case. For example, if you’re automating deal rooms for large opportunities, create a template with channels such as:
- Internal Team
- Customer Collaboration
- Proposal & Pricing
- Legal & Security
Within each channel, define folder structures. For instance, the "Proposal & Pricing" channel might include folders for "Proposals", "Pricing Models", "ROI Calculations", and "Competitive Analysis."
File templates are a major time-saver. Upload standard documents – like proposal decks or security questionnaires – so they’re automatically copied into new workspaces, ready for customization. This eliminates the hassle of searching for the latest templates or copying files from old workspaces.
Task lists make templates actionable. For a deal room, you might include tasks like "Schedule discovery call", "Complete technical assessment", "Draft proposal", and "Obtain legal approval." Assign due dates relative to the workspace creation date (e.g., "Schedule discovery call" due in 2 days, "Draft proposal" due in 7 days). You can even assign tasks to specific roles or team members based on Salesforce data.
To streamline collaboration, pin relevant Salesforce records (e.g., Opportunities, Accounts, or Cases) as tabs in the main channel using Microsoft’s Salesforce app for Teams. This ensures team members can access key data without leaving Teams. You can also configure which Salesforce fields appear prominently in the workspace for quick reference.
Naming conventions for teams and channels can be set at the template level. Use Salesforce field values to generate consistent, descriptive names. For example, a pattern like [Account Name] - [Opportunity Name] might produce "Acme Corp – Enterprise License Renewal." Including metadata like stage, close date, or region can help teams quickly identify workspaces.
Build a library of templates for different scenarios. For example:
- A basic deal room for standard opportunities
- An enterprise deal room with additional governance channels
- A customer onboarding template for new accounts
- A support escalation template for high-priority cases
Allow designated teams to manage their own templates without relying on IT. This keeps templates up-to-date as processes evolve.
Creating Automation Rules Without Code
With connections and templates ready, it’s time to create automation rules that determine when and how workspaces are generated. Using nFlow’s no-code workflow builder, you can link Salesforce triggers to Teams templates.
The workflow builder’s interface lets you set up trigger conditions, pick the appropriate template, and configure workspace behavior. Start by selecting the Salesforce object you’re automating (e.g., Opportunity, Account, Case, or a custom object). Use the triggers and field mappings you defined earlier to set up precise rules.
Example Trigger Condition: You could create a rule that activates when an Opportunity meets the following criteria:
- Stage equals "Proposal"
- Amount exceeds $100,000
- A custom checkbox field "Requires Deal Room" is checked
This ensures workspaces are only created when necessary.
Field Mapping: Map Salesforce fields to template variables to make workspaces more context-specific. For instance, use the Opportunity’s Region field to select a time zone-specific template, or the Industry field to apply industry-relevant file templates. Add conditional logic, such as creating an extra "Security Review" channel only when a "Requires Security Review" checkbox is marked.
Automated Team Member Assignments: Pull team members directly from Salesforce records (e.g., Opportunity Team, Account Team, or Case Team) and add them to the workspace with appropriate permissions. You can also assign roles – for example, always include the account executive, sales engineer, and customer success manager for enterprise deals.
Notifications: Set rules to alert team members when workspaces are created or when key Salesforce updates occur. For instance, notify the team when an opportunity stage advances, a deal amount increases significantly, or a case priority escalates. These updates keep everyone aligned without constant Salesforce monitoring.
Create multiple automation rules for different scenarios, such as standard opportunities, enterprise deals, or partner-sourced opportunities. Each rule can have unique triggers, templates, and team assignments.
Before activating rules in production, test them thoroughly in a sandbox environment. Create test records that meet your trigger conditions and verify that workspaces are generated correctly, with the right structure, content, and team members. Adjust as needed based on testing results.
The visual workflow builder makes it simple to update rules as your processes change. When your team identifies new collaboration needs or your sales process evolves, you can tweak trigger conditions or modify templates without waiting for IT intervention. This flexibility ensures your automation adapts to how your team works.
Once everything is tested and refined, activate the rules in production. Monitor the first few automated workspaces closely to ensure everything runs smoothly. Gather feedback from team members and fine-tune the setup based on their experience. The goal is for automation to feel seamless – workspaces should appear exactly when needed, structured exactly as expected, without anyone thinking about the mechanics behind it.
Running Automated Workspaces for Better Collaboration
With automation rules in place, nFlow takes the hassle out of setting up workspaces, allowing your teams to dive straight into collaboration. Instead of spending time on workspace logistics, teams can focus on closing deals, onboarding customers, or resolving cases more efficiently.
Here’s how these automated workspaces come pre-loaded with essential content and tasks to keep everything organized.
Auto-Creating Teams Workspaces from Salesforce
When specific conditions are met in Salesforce, nFlow automatically generates Microsoft Teams workspaces tailored to your needs.
For sales deals, whenever a new Opportunity record is created in Salesforce, nFlow sets up a "Sales Deal Room" team in Microsoft Teams. This workspace is built using your pre-defined template, complete with channels, folders, and structure. Team members like the Opportunity owner, account executive, sales engineer, and others are automatically added based on Salesforce data.
For account management, nFlow creates teams for key Salesforce accounts. When an Account record matches your criteria, a "Key Account Management" team is generated. As new opportunities are linked to that account, nFlow can add separate channels for each deal within the parent team. This keeps collaboration around the account organized while maintaining space for individual opportunities.
For service management, a new team is created for every Case that meets your rules in Salesforce. These workspaces provide a dedicated area for support engineers, product specialists, and customer success managers to collaborate effectively.
Workspace names are automatically generated based on your templates, ensuring clarity. Plus, you can decide whether to create entirely new teams, add channels to existing ones, or start conversations using adaptive cards. This flexibility lets you design workflows that match how your teams operate.
Pre-Loading Content and Tasks in Teams
Once a workspace is created, nFlow doesn’t stop there – it populates it with all the files, folders, and tasks your team needs to hit the ground running.
Each workspace is structured based on your templates. For example, a "Proposal & Pricing" channel might include folders for proposals, pricing models, and competitive analysis, giving your team an organized starting point. File templates, such as proposal decks or questionnaires, are automatically added, ensuring everyone works with the latest approved versions.
Tasks are pre-loaded into Microsoft Planner tabs within the workspace, making it immediately actionable. These tasks might include scheduling discovery calls, completing technical assessments, drafting proposals, or securing legal approvals. Assignments are automated based on team roles in Salesforce, so everyone knows their responsibilities from the start.
For more complex processes, checklists provide step-by-step guidance, ensuring teams stay aligned with your playbook. Additionally, the relevant Salesforce record is pinned in the main channel using Microsoft’s Salesforce app for Teams. This integration allows team members to access key Opportunity, Account, or Case details directly in Teams without switching between platforms.
Sending Notifications for Salesforce Updates
Automation doesn’t end with workspace creation. nFlow keeps teams informed by sending notifications to Teams channels when important changes occur in Salesforce. For example, if an Opportunity stage changes, a notification is sent to the deal room channel. For service cases, alerts can notify teams about SLA breaches or approaching deadlines.
You have full control over which events trigger notifications and where they’re sent. Some organizations prefer routing all updates to a main channel, while others might use separate channels for different types of notifications – for instance, internal updates in one channel and customer-facing alerts in another.
These real-time updates ensure critical information is shared automatically, enabling quick discussions and timely decisions without the need to constantly switch between applications.
sbb-itb-95f1422
Managing, Testing, and Updating Your Automation
Keeping automated workspaces organized and compliant is essential for smooth operations. Tools like nFlow make it easier by offering features to test configurations, enforce governance standards, and simplify your Teams environment.
Staying Aligned with Microsoft 365 Governance Rules
A well-defined governance strategy ensures your Teams environment remains consistent and secure. Automated workspaces created with nFlow follow your Microsoft 365 governance framework, maintaining the same level of compliance and structure as manually created ones.
Your organization likely uses the Microsoft 365 Security and Compliance Center to manage policies like naming conventions, data classifications, retention schedules, and compliance boundaries. When nFlow sets up workspaces, it adheres to these rules, ensuring no shortcuts are taken.
For authentication and encryption, nFlow integrates seamlessly with Azure AD and Salesforce OAuth. This setup ensures access to workspaces is tied to your organization’s identity and security policies. Users log in using their organizational credentials, and permissions flow naturally from Salesforce roles and Microsoft 365 groups.
By working within your established governance framework, nFlow delivers faster, more consistent workspace setups while meeting all security and compliance requirements.
Testing Automation in Sandbox Environments
Before rolling out new automation rules or template updates, testing in a sandbox environment is crucial to avoid unintended disruptions. nFlow supports sandbox-to-production mapping, enabling you to validate configurations in your Salesforce sandbox before they impact live workflows.
By connecting a Salesforce sandbox to nFlow, you can test automation rules using sandbox data. This lets you verify that triggers behave as expected, templates generate the correct structure, and team assignments are accurate – all without affecting your live Teams environment.
For instance, if you’re testing a rule for high-value opportunities (e.g., deals over $500,000), you can confirm in the sandbox that nFlow creates the right Teams workspace with the proper channels, folders, files, and tasks.
Testing in a controlled environment allows you to fine-tune settings and avoid unnecessary workspace creation. Identifying and resolving issues during testing ensures smoother deployment to production, giving you confidence in your configurations while minimizing risks.
Automating Workspace Archiving
Archiving workspaces is a key part of managing their lifecycle and keeping your Teams environment uncluttered. As opportunities close, cases resolve, or projects wrap up, their associated Teams workspaces often no longer need to stay active. nFlow can automatically archive or mark these workspaces as complete based on Salesforce record statuses, saving you from manual cleanup.
For example, when an opportunity reaches a closed stage – whether won or lost – nFlow can trigger the workspace to be archived. The workspace remains accessible for reference but is clearly marked as inactive, helping to keep your active Teams list tidy. The same logic applies to resolved cases or inactive accounts.
Archiving rules are flexible and can be tailored to fit your business processes. Some organizations archive workspaces immediately upon deal closure, while others might delay for 30 or 60 days to account for post-close activities like finalizing contracts or planning transitions. nFlow lets you set these timeframes to suit your needs.
For workspaces that should remain visible but need a status update, nFlow can modify team names or descriptions. For instance, a workspace named "Deal Room – Acme Corp" could be updated to "Deal Room – Acme Corp [Closed Won]" once the opportunity is marked as won in Salesforce. This provides a clear visual indicator of the workspace’s status.
Conclusion: Boost Productivity with nFlow’s Salesforce Automation
Automating workspace creation from Salesforce changes the game for teamwork on deals, accounts, and cases. Instead of wasting time on manual setup, nFlow instantly generates fully configured Teams workspaces based on your Salesforce data.
But the benefits go beyond just saving time. With every deal room, account space, or case workspace following the same structure, your teams can work more consistently. Channels, folders, file templates, tasks, and lists are all ready to go, so your team can hit the ground running.
By linking your Salesforce playbooks directly to Teams workspace templates, nFlow ensures that best practices are built into every workspace. There’s no need for team members to figure out what to create or use – everything appears pre-configured, allowing them to focus on what really matters: the work itself.
The no-code design makes it easy for RevOps and Sales Ops teams to tweak templates and rules whenever needed. Sandbox testing ensures these updates are reliable before they go live. Whether you’re adding a new stage to your sales process or updating workflows, you can make the adjustments yourself without waiting for IT.
Governance and lifecycle management are baked in, keeping your Teams environment organized without adding extra work. Workspaces automatically follow your Microsoft 365 policies, and nFlow can archive or update workspace statuses as Salesforce records evolve. This keeps your active Teams list tidy while ensuring older workspaces are still accessible when needed.
The integration of automated workspace creation, pre-loaded content, and Salesforce data directly within Teams creates a seamless collaboration environment. Your team works where they’re most comfortable – in Teams – while Salesforce remains the backbone for record-keeping. Updates sync across both platforms, keeping everyone on the same page.
With nFlow, your Salesforce-driven workflows become actionable workspaces in an instant. This means faster execution, greater consistency, and more time for high-impact tasks – all of which contribute to increased revenue and better customer satisfaction. By connecting Salesforce and Teams through nFlow, your organization takes a big step toward smarter, more efficient collaboration.
FAQs
How does nFlow protect data and ensure compliance when connecting Salesforce with Microsoft Teams?
nFlow is built with strong security measures and compliance standards to protect your data during Salesforce and Microsoft Teams integrations. It uses advanced encryption, secure authentication methods, and role-based access controls to keep sensitive information safe.
On top of that, nFlow aligns with key regulations like GDPR, HIPAA, and SOC 2, helping organizations meet both legal and industry-specific requirements. With a focus on data privacy and security, nFlow ensures smooth collaboration while maintaining compliance and preserving trust.
What are the best practices for setting up triggers and templates to streamline workspace automation in Salesforce?
To make the most of workspace automation in Salesforce, focus on pinpointing the workflows that would gain the most from automation – think high-priority sales opportunities or cases that require frequent updates. This ensures you’re addressing areas with the highest impact.
Adopt consistent naming conventions for Teams channels to keep navigation simple and clear, fostering better communication across departments.
Take advantage of no-code workflows to set up workspaces in advance with all the essentials, such as folders, file templates, and task lists. Align these elements with your existing sales and service processes to streamline operations. Lastly, create clear collaboration guidelines to keep everyone on the same page and to boost efficiency in your automated workspaces.
How can I safely test automation rules before using them in production?
To make sure your automation rules work as intended and are free of errors, always test them in a Salesforce sandbox environment before moving them to production. A sandbox mirrors your production setup, giving you a safe space to try out changes without impacting live data or workflows.
In the sandbox, you can simulate different scenarios, check how triggers behave, and adjust your rules as needed. Once you’re satisfied with the outcomes, you can confidently deploy the polished automation to your production environment. This method helps reduce risks and ensures your workflows are implemented smoothly.
Leave a Reply